Product Photography: Shooting Catalog-Quality Photos with a Smartphone

Capture catalog-quality product photos of your footwear using only your smartphone, without investing in a professional studio. Discover practical techniques in lighting, angles, composition, and editing to create visuals that boost your sales.
In digital commerce, product photography is the storefront of your shop. Wholesale buyers or retail customers usually establish their first contact with a shoe through a screen. The quality of this first impression directly influences the purchasing decision. While high-budget studio shoots and professional equipment are an option, today’s smartphones combined with the right techniques can produce surprisingly professional results. The issue is not owning the most expensive camera but making the most efficient use of the tool you have. This guide provides practical steps to shoot catalog-quality shoe photos with your smartphone without studio costs.
Basic Equipment and Preparation: Starting Without a Studio
You don’t have to make large investments to achieve professional results. The most important tool you need is already in your pocket. However, a few simple supportive elements can significantly ease the process and enhance photo quality and consistency. Preparation is as critical as the shooting moment itself, and taking the right steps here reduces your workload during editing.
Smartphone Selection and Settings
A modern smartphone’s main camera usually offers sufficient resolution and quality. Before starting the shoot, the first and foremost step is to clean the camera lens with a microfiber cloth. Fingerprints or dust directly reduce photo sharpness. If your phone’s camera app has "Pro" or "Manual" mode, learning to use these settings gives you a great advantage. Manually controlling settings such as ISO (light sensitivity), shutter speed, and white balance eliminates inconsistencies caused by automatic mode. Especially adjusting white balance correctly ensures the shoe’s color appears true to life on screen.
Supportive Materials: Tripod and Background
A tripod is your greatest helper for sharp and clear photos. Holding the phone by hand, especially under low light, can cause slight shakes and blur. An affordable smartphone tripod guarantees every photo is captured steadily and professionally framed. The background is as important as the product itself. Avoid distracting or busy backgrounds. A large white or light gray cardboard is an ideal clean and professional surface for starters. For a different style, you can use textured surfaces (raw wood, concrete-look panels). The key is that the background should not overshadow the shoe.
The Art of Lighting: The Most Important Factor to Highlight the Product
Photography literally means "drawing with light." Light is what best reflects your product's texture, color, form, and quality. Poor lighting can make even the finest shoe look dull and low quality, while good lighting can make a modest model desirable. Fortunately, you don’t need expensive studio flashes for effective lighting.
Using Natural Light
The best and cheapest light source is the sun. Do your shoots during the day next to a large window. However, avoid direct harsh sunlight. This type of light produces sharp shadows and causes loss of details. The ideal is indirect, soft light coming from the window. If the light is too harsh, you can diffuse it using a thin white curtain or baking paper. This softens shadows and provides more even lighting on the product. For example, the mesh texture of a women’s sports shoe is best revealed by such soft lighting.
Artificial Lighting Setup and Reflectors
For situations where natural light is insufficient or you want consistent lighting, simple artificial light sources can be used. Even an adjustable desk lamp works. To prevent the light from being direct and harsh, place a diffuser like a white t-shirt or baking paper in front of the lamp. If one side of the product is in shadow, use a reflector to soften the shadows. A white foam board or cardboard covered with aluminum foil reflects light onto shadowed areas, making details visible. This simple technique instantly gives your photo a more professional look.
Composition and Angle: Reflecting the Shoe’s Character
Once the shoe is properly lit, it’s time to present it to the buyer in the most attractive way. Composition and shooting angle tell the product’s story. The elegance of a stiletto, the sturdiness of a boot, or the dynamism of a sports shoe can be emphasized with the right angles. Wholesale buyers want to see every aspect of the product, so relying on a single photo is not enough.
Basic Shooting Angles
Aim to shoot each shoe from at least 3-5 different angles, typically including:
Profile (Side) View: Shows the shoe’s overall silhouette, heel height, and sole structure.
Three-Quarter (Diagonal) Angle: Displays both the front and side, giving a sense of depth. This is usually the most favored angle.
Top View: Ideal to show the inside, lining, and shape of the shoe.
Detail Shots: Close-ups of stitching quality, material texture, eyelets, or a buckle. This increases the perceived quality.
Rear View: Important especially for brand logos or design details on the heel.
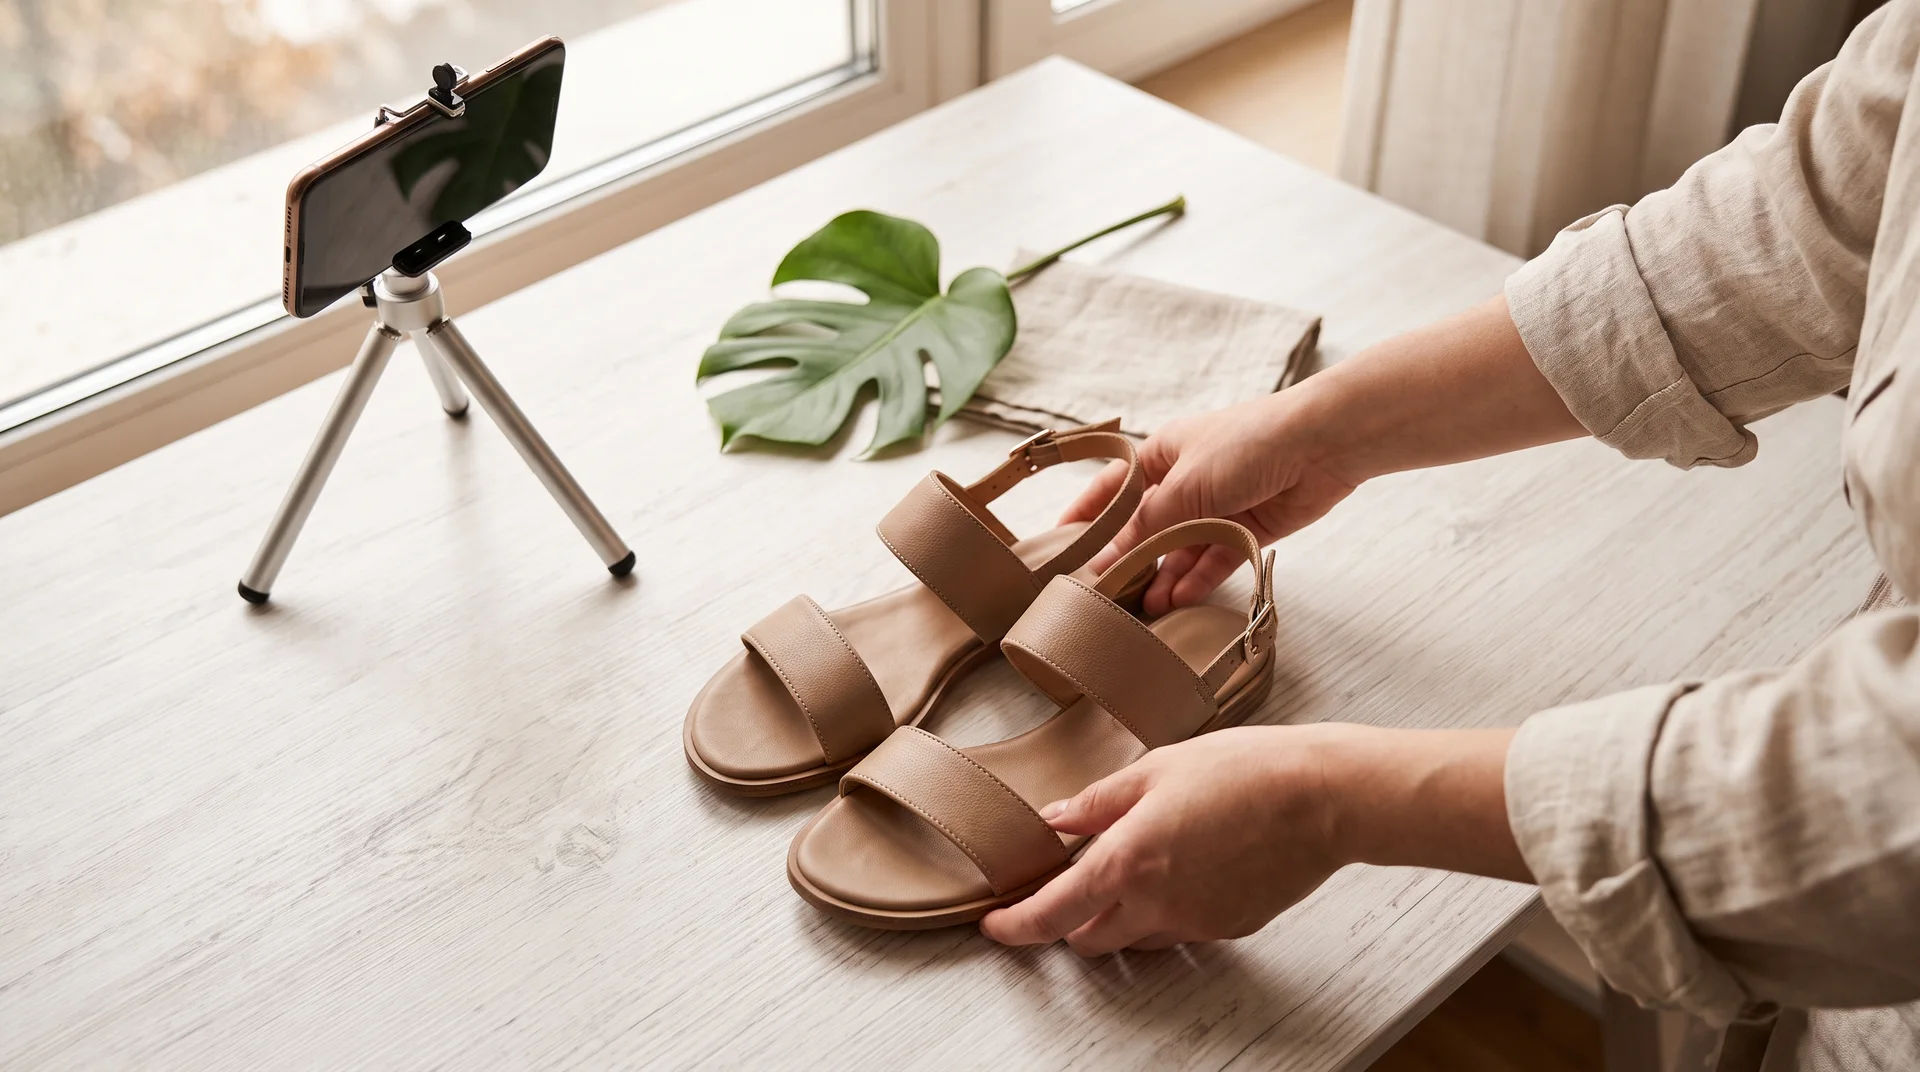
These varied angles help the buyer mentally visualize the product and make confident decisions.
Background and Style Creation
Shooting the product against a plain white background is a safe start, but adding stylized shots that match your brand identity can help distinguish your products from competitors. The background and a few simple props create an atmosphere. For example, you can display a men’s casual shoe on a wooden floor alongside folded jeans or a magazine. But be careful: props should never steal focus from the shoe. The aim is to complement the product and appeal to the target customer’s lifestyle, not to distract attention.
Post-Production Editing: Perfecting Your Photos
Even the best shots usually need small adjustments. Editing is the stage where you fully realize the potential of your photos and add the final professional polish. Thanks to powerful and often free editing apps developed for smartphones, this process has become quite simple.
Mobile Editing Apps
Apps like Adobe Lightroom Mobile and Snapseed (by Google) provide control comparable to desktop software. Essential edits you should make include:
Crop and Straighten: Improve composition by adjusting the frame and aligning the horizon.
Exposure (Brightness): Adjust the photo to avoid being too bright or too dark.
Contrast: Increase the difference between blacks and whites to add vibrancy.
White Balance: If not perfectly set during shooting, adjust here to ensure natural colors.
Sharpening: Slightly enhance sharpness to make details stand out without overdoing it.
These basic steps can elevate a photo from amateur to professional quality.
Consistency and Color Accuracy
Consistency is crucial when editing multiple photos of one product. Ensuring all photos have the same lighting and color tone creates a professional image. Apps like Lightroom allow you to save adjustments as "presets" and apply them with one click to other photos. The most critical aspect is color accuracy. The shoe color seen on the customer’s screen must match the actual product to prevent returns and build trust. Avoid oversaturating or altering colors during editing.
The Wholesale Buyer’s Perspective: Trust and Information Transfer
While photos inspire retail customers, for wholesale buyers they are a tool for analysis. Wholesale buyers want to be confident about the quality, materials, and workmanship of the products they stock. Therefore, product photos on B2B platforms should be as informative as they are aesthetic. On platforms like Bulkoon, your photos reflect your professionalism as a supplier.
The Importance of Details
A wholesale buyer wants to see how sturdy the heel looks on a women’s stiletto, the leather’s texture, the quality of the sole lining, and neat stitching. Close-up detail shots are vital in the B2B sales process. The product videos offered on Bulkoon also cater to this need, allowing buyers to examine every angle dynamically. Your photos should complement this video experience and transparently showcase every part of the product. Remember, joining Bulkoon’s approved suppliers is a mark of trust, and high-quality visuals reinforce that trust.
Visual Presentation on Platforms
In Bulkoon’s extensive catalog of over 10,000 models, how much your products stand out largely depends on the appeal of your main product photo. Buyers use AI-powered smart selection and advanced filters to find products, but final click decisions are often driven by visual quality. Adopting a consistent photographic style for all your products strengthens your brand identity and builds a reliable profile in the buyer’s mind. Well-lit, sharp, and detailed photos speed up the buyer’s decision-making process and lead to quicker orders.
Conclusion: Create a Professional Showcase with Your Smartphone
Catalog-quality product photography is no longer a privilege reserved for brands with large budgets. Your smartphone, combined with the right knowledge and technique, becomes a powerful tool that showcases your shoes at their best. Understanding light, using the right angles, and following a consistent editing process will instantly elevate your photo quality. Remember, every photo is the first dialogue you establish with a potential buyer. Making this dialogue strong and convincing is one of the keys to success in digital markets. You can draw inspiration by exploring thousands of products offered on Bulkoon and start your own shoots immediately. To see how the process works, visit our How It Works page.